How to Make Goat Milk Soap: A Comprehensive Guide
Learn how to make luxurious goat milk soap at home with our detailed step-by-step guide covering ingredients, techniques, and tips for beginners and experienced crafters alike.
Elma K. Johnson

Introduction
Goat milk soap has become increasingly popular among skincare enthusiasts due to its natural, moisturizing properties and gentle cleansing ability. This article will provide you with a detailed, step-by-step guide on how to make goat milk soap at home, ensuring that even beginners can successfully create a luxurious, skin-loving product. Whether you're interested in saving money, controlling your ingredients, or simply exploring a fun DIY project, our guide offers everything you need to know about making goat milk soap. In this article, our primary focus is on "goat milk soap," covering techniques, ingredients, and safety tips to help you create a product that both nourishes your skin and delights your senses.
What Is Goat Milk Soap and Why Is It Special?
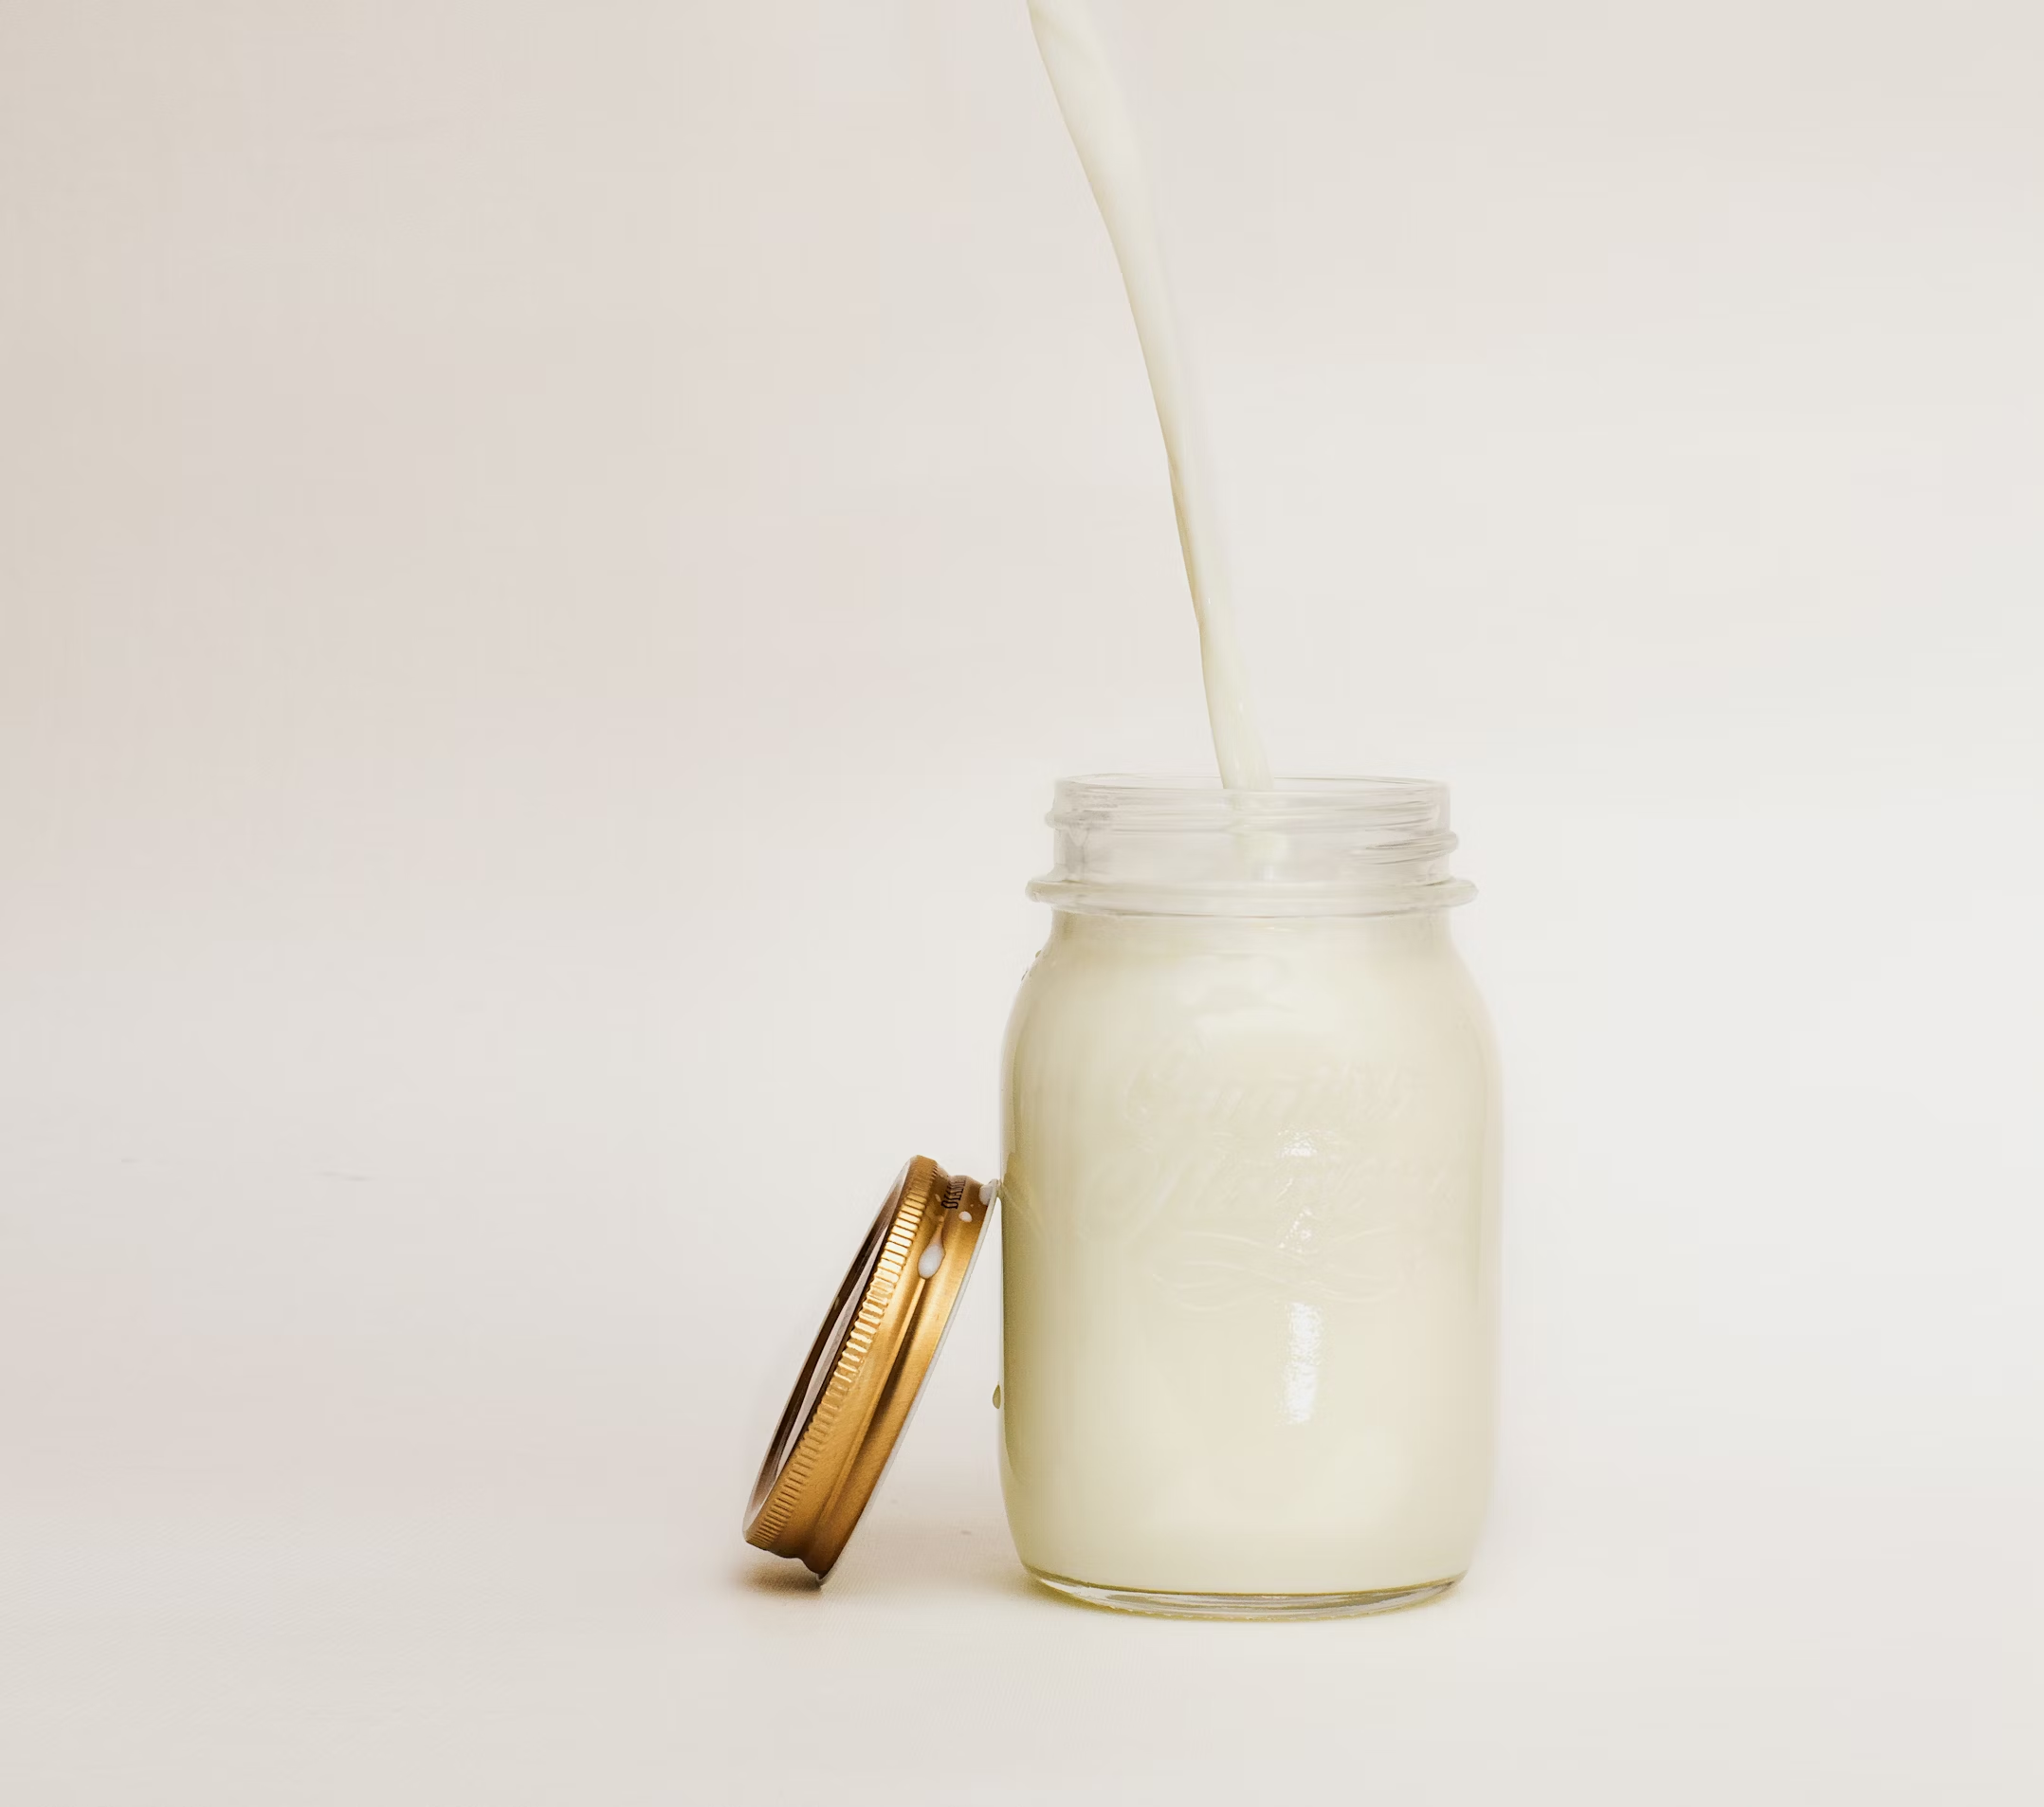
Goat milk soap is a type of soap made with fresh or frozen goat milk as a primary ingredient. Unlike conventional soaps that use water, goat milk soap benefits from the natural vitamins, minerals, and fats found in goat milk. These components contribute to a creamier lather and a gentler cleansing experience than many commercial soaps. The natural emollients and lactic acid in goat milk work together to exfoliate and moisturize the skin, making it ideal for people with sensitive or dry skin.
If you're interested in raising your own goats for milk, check out our guide on raising goats for milk to learn more about the process and benefits.
Benefits of Using Goat Milk Soap
1. Moisturizing and Nourishing
Goat milk soap contains high levels of fat and proteins which help maintain skin hydration. The natural fats in goat milk create a moisturizing barrier, protecting the skin against dryness. This skincare benefit is ideal for those with eczema, psoriasis, or simply needing a gentle moisturizer.
2. Rich in Nutrients
Goat milk is packed with essential vitamins like A, D, and B6, as well as minerals such as calcium, phosphorus, and potassium. These nutrients can help soothe irritation and support the overall health of your skin.
3. Gentle Exfoliation
The lactic acid found in goat milk acts as a natural exfoliant, gently lifting dead skin cells and promoting cell regeneration. Regular use of goat milk soap can leave your complexion softer and brighter over time.
4. pH-Balanced Formula
The pH level of goat milk soap is closer to that of human skin compared to many commercial soaps, making it a brilliant choice for those who experience frequent skin irritations or conditions triggered by harsh cleansers.
Essential Ingredients and Supplies Needed
Before you begin the process of making goat milk soap, it's important to gather all the necessary ingredients and safety equipment. Below is a comprehensive list of items you'll need:
Ingredients:
- Goat milk – preferably fresh or frozen to maintain its nutritional properties
- Lye (sodium hydroxide) – always of high quality and specifically designed for soap making
- Oils and fats – such as olive oil, coconut oil, and shea butter to create a balanced soap base
- Essential oils – for fragrance and additional skin benefits
- Natural additives – such as herbs or oatmeal that can provide further benefits and texture to your soap
Equipment and Safety Supplies:
- A digital kitchen scale for accurate measurements
- A thermometer and pH strips to monitor the temperature and acidity of your soap mixture
- Heat-resistant mixing bowls and stainless steel utensils
- A stick blender – to thoroughly mix the ingredients
- Soap molds – for shaping and curing your goat milk soap
- Safety gear – including gloves, goggles, and a long-sleeved shirt to protect your skin from lye splashes
- A well-ventilated work area and a clean surface dedicated to soap making
For quality soap-making supplies, check out Bramble Berry, a trusted supplier of soap-making ingredients and equipment.
Understanding the Science: Saponification in Goat Milk Soap
In the process of making goat milk soap, the chemical reaction known as saponification occurs. This reaction happens when lye interacts with fats and oils, turning them into soap and glycerin. Goat milk soap benefits from this natural process because the gentle nature of goat milk helps maintain a smooth, creamy consistency in the final product. Monitoring temperatures and precise measurements of each ingredient is crucial for a successful saponification process, particularly when working with delicate ingredients like goat milk.
Step-by-Step Guide on How to Make Goat Milk Soap
Step 1: Prepare Your Goat Milk
One of the first steps in making goat milk soap is ensuring your milk is ready for use. If you're using fresh goat milk, consider freezing it beforehand to prevent scalding when combined with the lye. If you choose to use frozen goat milk, thaw it slowly until it reaches a slushy consistency. This method helps manage the temperature when adding lye, reducing the risk of burning or curdling the milk.
If you're raising your own goats, you might be interested in our article on how to milk a goat to ensure you're getting the freshest milk possible for your soap.
Step 2: Weigh Your Ingredients Accurately
Accurate measurements are the key to successful goat milk soap. Using a digital kitchen scale, measure your goat milk, oils, lye, and any natural additives. Due to the chemical nature of lye, its quantity must be exact. Refer to a reliable soap-making calculator if you are adjusting recipes, ensuring the correct ratio of lye to oils to avoid soap that is either too harsh or too greasy.
Step 3: Prepare the Lye Solution
In a well-ventilated area, slowly add the lye to the prepared goat milk. Never add goat milk to lye—always add lye to the milk to prevent a dangerous reaction. Stir gently until the lye is fully dissolved. Due to the chemical reaction, the mixture will heat up quickly; allowing your goat milk mixture to cool to a suitable temperature before mixing with oils is critical. Always wear your safety gear during this process.
Step 4: Combine Oils and Fats
While the lye-goat milk solution is cooling, combine your chosen oils in a heat-resistant bowl. Common choices include olive oil for its moisturizing qualities, coconut oil for a strong lather, and shea butter for extra nourishment. Lightly warming the oils can help achieve a smoother blend when they are mixed with the lye-goat milk solution.
Step 5: Mix the Lye-Goat Milk with the Oils
Once both mixtures have reached similar temperatures – ideally between 95°F and 105°F – slowly pour the lye-goat milk solution into the oils. Use a stick blender to stir the mixture thoroughly until it reaches "trace." Trace is a stage in soap making where the ingredients have emulsified and the mixture thickens to a consistency similar to pudding. This stage is critical in goat milk soap production as it assures that the saponification process is underway.

Step 6: Personalize Your Goat Milk Soap
At this point, your mixture is ready to be customized. Adding essential oils, herbs, or pigments can boost the skin benefits and aesthetic appeal of your goat milk soap. Essential oils like lavender or eucalyptus not only provide a pleasant fragrance but also offer aromatherapy benefits. Herbs like calendula or chamomile can further soothe the skin while adding a touch of natural color.
Step 7: Pour the Mixture into Molds
Once your goat milk soap has achieved trace and you've added in any customizations, it's time to pour the mixture into soap molds. Ensure the molds are clean and dry before use. Tapping the molds gently can help remove any trapped air bubbles, ensuring an even texture in your final product.
Step 8: Cure and Harden Your Soap
After molding, let your goat milk soap sit in a warm, undisturbed area. The curing period can last anywhere from four to six weeks, allowing excess moisture to evaporate and the soap to harden properly. During this time, the saponification process is completed, and your soap becomes safe for everyday use. Proper curing also ensures that the soap retains its natural moisturizing properties and gentle cleansing nature.
For more information on the science behind soap curing, visit the Soap Guild's educational resources.
Important Tips and Best Practices for Successful Goat Milk Soap Making
- Temperature Control: Maintaining consistent temperatures for both the lye-goat milk solution and the oils is paramount. Using a thermometer throughout the process can prevent mistakes.
- Precise Measurements: As mentioned earlier, the chemical balance between lye and oils determines the quality of your soap. Inaccurate measurements can lead to a soap that is either harsh or improperly set.
- Safety First: Always work in a well-ventilated area and wear protective gear. Lye is a caustic substance, and its safe handling is non-negotiable.
- Mixing Thoroughly: Use a stick blender to ensure complete emulsification. Achieving proper trace indicates that the saponification process has started, and it is necessary for the final texture of your goat milk soap.
- Patience During Curing: The curing time can feel long, but it's essential for making a high-quality goat milk soap with all the intended benefits.
Common Pitfalls and How to Avoid Them
Even experienced soap makers face challenges from time to time when making goat milk soap. Here are a few common pitfalls and solutions:
1. Curdling of Milk
One common issue is the curdling of goat milk when it meets lye. To reduce this risk, always pre-freeze your goat milk and let it reach a similar temperature to your oils before combining. This approach helps to slow down the heat from the lye, preventing curdling.
2. Inaccurate Lye Measurements
A minor error in weighing lye can affect the entire batch. Always double-check your measurements, and consider using a digital scale to ensure precision. Using a reliable soap calculator can help maintain the correct ratios and avoid common pitfalls in goat milk soap making.
3. Incomplete Mixing and Lack of Trace
Proper emulsification is essential. If your mixture does not reach trace, the saponification process may remain incomplete. Use your stick blender on short bursts, checking the consistency frequently to ensure you have achieved the right texture before pouring the soap into molds.
4. Insufficient Curing
Even if your goat milk soap looks perfect right after molding, avoid using it immediately. Adequate curing time ensures safety and maximizes the soap's moisturizing qualities. Rushing this step can result in softer, less effective soap.
Variations and Customizations for Your Goat Milk Soap
One of the joys of making goat milk soap at home is the endless opportunities for customization. Here are some ideas for creating unique variations:
Exfoliating Goat Milk Soap:
Add finely ground oatmeal or natural clays to your soap mix during the trace stage. These ingredients not only add texture but also provide gentle exfoliation.
Scented Goat Milk Soap:
Experiment with different essential oil blends. For a calming, spa-like experience, consider combining lavender, chamomile, and a hint of peppermint. Alternatively, citrus notes like orange and lemon can invigorate and refresh the senses.
Colored Goat Milk Soap:
Use natural pigments such as spirulina (for a green hue), turmeric (for yellow), or activated charcoal (for a striking black soap). These additives enhance the visual appeal while remaining completely skin-friendly.
Herbal Goat Milk Soap:
Incorporate dried herbs like rosemary, mint, or calendula petals for a botanical soap that not only smells wonderful but also provides additional benefits like improved circulation and soothing properties. Experiment with the quantity to ensure the herbs do not interfere with the soap's consistency.
If you're interested in growing your own herbs for soap making, check out our article on seasonal care for your garden, which includes tips for growing herbs that can be used in soap making.
Health and Environmental Benefits of Goat Milk Soap
Beyond the obvious skincare advantages, goat milk soap offers several benefits for personal health and the environment:
Eco-Friendly Production:
Homemade goat milk soap reduces reliance on commercial, often chemically laden, products. By crafting your soap at home, you're contributing to a more sustainable lifestyle and reducing packaging waste.
Customizable Ingredients:
Being in control of every ingredient means no unwanted additives, preservatives, or harsh chemicals reach your skin. This customization makes goat milk soap particularly attractive to individuals with allergies or sensitivities.
Animal-Friendly:
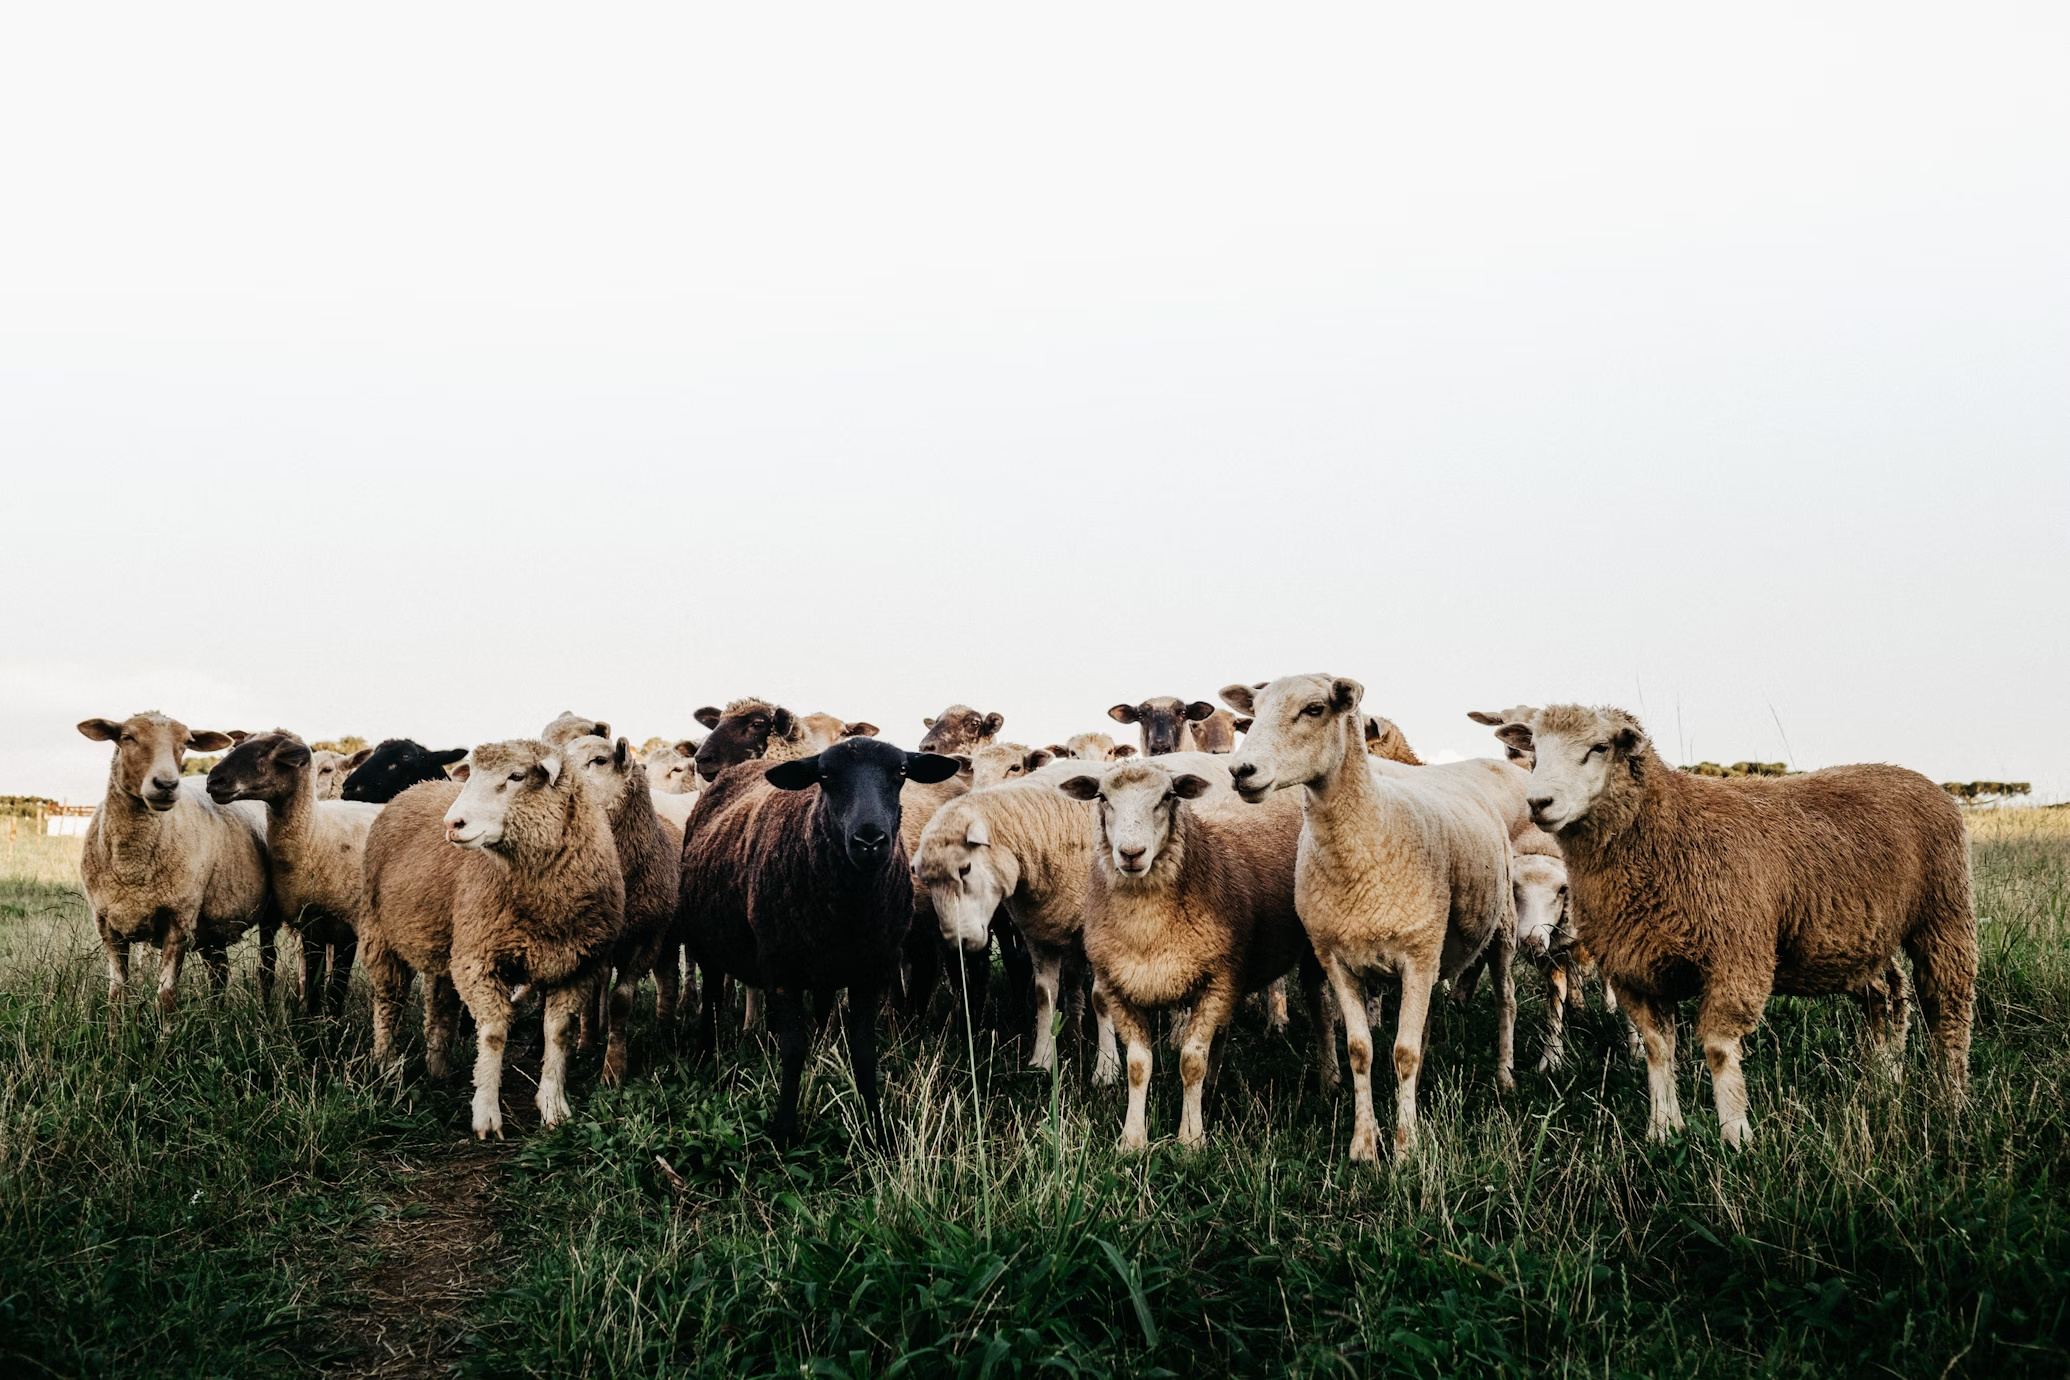
Goat milk soap is often associated with small-scale, sustainable farming practices, where the milk is sourced ethically from well-cared-for goats. Supporting such practices can lead to a more responsible approach to animal husbandry and local agriculture.
Better for Sensitive Skin:
As mentioned, goat milk soap's pH closely matches that of human skin, making it an excellent choice for those prone to irritation or allergic reactions from synthetic soaps. The natural vitamins and fatty acids help soothe while cleaning, reducing the chances of dryness and rashes.
Advanced Techniques in Goat Milk Soap Making
For those who are ready to take their soap-making skills to the next level, here are some advanced techniques:
Swirling and Layering:
Once you've mastered the basic process, try creating visually appealing swirls or layers within your soap. After reaching trace, split your mixture into different bowls and add varying colors or essential oils. Pour each batch carefully to create a layered effect, then use a skewer or chopstick to swirl the layers together gently.
Incorporating Superfoods and Botanicals:
Integrate nutrient-dense superfoods such as turmeric, spirulina, or activated charcoal into the mix for added skin benefits. These ingredients can give your goat milk soap a unique aesthetic and boost its health properties while appealing to those who prefer products with natural bioactive compounds.
Using Melt and Pour Techniques:
For beginners who wish to experiment without handling lye directly, consider starting with a melt and pour base infused with goat milk. Once you're comfortable with the creative aspect, such as adding essential oils, herbs, and pigments, you can move on to making cold-process goat milk soap entirely from scratch.
Conclusion
Making goat milk soap at home is both an art and a science. By following the careful process outlined in this guide, you can create your own natural, nourishing goat milk soap tailored to your preferences and skin type. From understanding the benefits of goat milk soap the importance of precise measurements, temperature control, and safety protocols, every step is integral to producing a final product that stands out in quality and care.
Not only does homemade goat milk soap offer an opportunity for creative expression, but it also provides a natural alternative to commercial soaps filled with harsh chemicals. Its moisturizing, nutrient-rich formula is perfect for those looking to care for their skin in a gentle, effective way.
Whether you're experimenting with essential oil blends, incorporating herbal additives, or simply enjoying the satisfaction of crafting your very own soap, this guide serves as a comprehensive resource. Remember: patience and precision are key. Enjoy the process and don't be discouraged by any setbacks, as each batch is an opportunity to learn more about the fascinating world of soap making.
With the detailed instructions and expert tips provided here, you now have everything you need to confidently create your own batch of goat milk soap. Your skin will thank you for the hydration, nourishment, and gentle cleansing effect that only true goat milk soap can deliver. Happy soap making!
For more DIY projects using goat products, check out our guide on profitable goat cheese recipes to expand your homemade goat product collection.

About Elma K. Johnson
Expert farmers and veterinarians with over 20 years of experience in goat farming and animal husbandry.
Related Articles

Goat Care for Beginners: Everything You Need to Know First
New to goats? This goat care for beginners guide covers companions, shelter, fencing, feeding, health, and realistic costs - with simple checklists to follow.